If thou tastest a crust of bread, thou tastest all the stars and all the heavens. – Robert Browning
For me, tangy and chewy sourdough is ‘the taste of the stars and all the heavens’. For many years I bought sourdough every week while also baking with yeast at home; the idea of making my own sourdough going into the ‘too hard’ basket. You might be surprised however to learn it’s creation requires the simplest of ingredients and only a few minutes of each day to maintain. I haven’t kept baker’s yeast in the house for 12 months so far, and I’m still going strong.
For the purposes of this guide we’re going to start a new culture from scratch and discuss all things ‘sourdough’ along the way. There are no hard and fast rules about fermentation, though for this recipe we’re going to make a 1:1 (flour:water) sourdough culture where we will feed it for seven days before proceeding to bake our first loaf. Throughout this journey we will talk about feedings, bubbles, smells, consistency, ‘hooch’, recipe ideas as well as any troubleshooting. Fermentation is a finicky and often erratic process and I honestly can’t wait to see what gets throws our way. Shall we begin?
What is a Sourdough Culture?
As the first, and traditional way of leavening bread (before the barm method, and then commercial yeasts) sourdough has a clear nutritional advantage over other bread products on the market. Your sourdough starter is a fermented culture combining friendly wild-borne yeast and bacteria and is the healthiest way to consume (gluten-containing) bread. The cultures present predigest the starches in grain flours and also reduces the phytate content. Sourdough bread can be easier to digest and also has a more bioavailable nutrient content. Conventional bread baked with baker’s yeast on the other hand bursts apart the starch cells in grain flours without enough time to break down gluten strands. This explosive action within starch cells can result in a hard to digest bread with many nutrients still bound up.
While you can buy an established starter culture to rehydrate and use at home, this article focuses on creating your own culture from scratch. Your own unique sourdough starter incorporates the wild yeasts and bacteria in your immediate environment. You will eventually have enough to share your culture with friends and family, but for the time being this is a one-of-a-kind ferment that will have it’s own flavour nuances when baked. The best part? The older your sourdough starter culture is, the better your bread tastes!

What Ingredients and Equipment Do I Need?
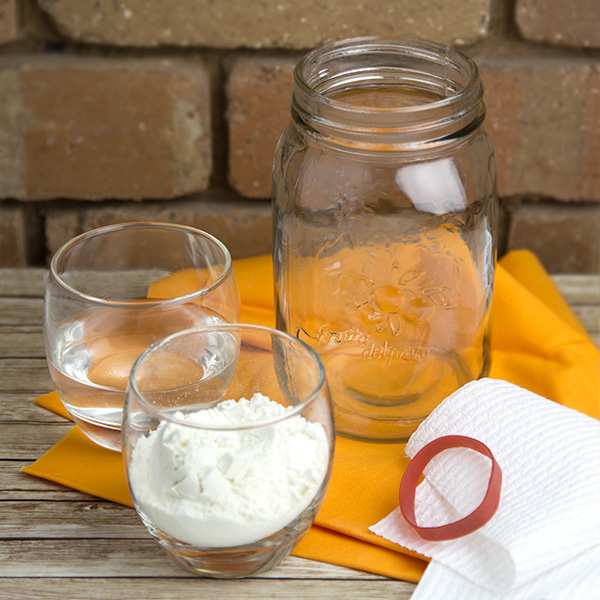
When you read this ingredient list, you’re really going to wonder why you didn’t start your own culture sooner! Fermented foods can sometimes feel like a daunting process, something that “other people” do because it must be hard or require expert knowledge. The truth is that many fermentation processes were discovered by accident and many types of fermentation require only the most basic ingredients and processes; in this case equal amounts of flour and water (100g (approx 3/4 cup) of flour and 100g (3/4 cup) or water).
- Flour: This starter is a spelt sourdough, though you can also easily use wheat or khorasan flour. I use white (not wholegrain) flour as in my experience wholegrain flours can develop very strange tastes and hooch (the liquid that can form over the starter in the jar). This may be due to the natural oil content of the flour from the germ of the seed. You can however use your starter in conjunction to any wholegrain flour of choice in your final baking recipes – I often combine my white starter with whole spelt or rye flour when baking.
- Water: Where possible, use filtered or spring water for your starter and when baking. Tap water contains chlorine which (as in other types of fermentation) kill beneficial yeasts and bacteria that we actually want to flourish in our culture. If it is necessary to use tap water, pour it into an open vessel and let stand for several hours before using. This allow time for chlorine evaporation.
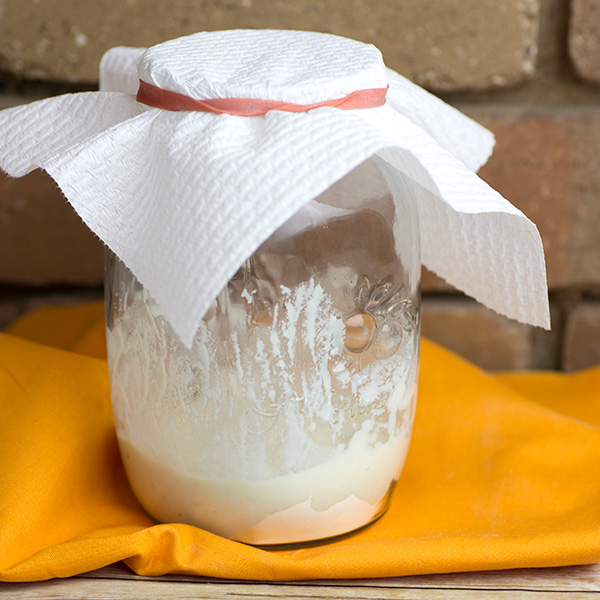
- Storage Vessel and Cover: I find a one litre (one quart) jar works best for storing your starter as it allows for room for the culture to expand. A glass mason jar (or similar) is perfect, allowing you to see you starter during all stages of fermentation. Choose a jar with a wide mouth so you are able to adequately mix or remove starter as needed. Leave the lid off your jar and instead cover with paper towel/few layers of cheesecloth and a rubber band to allow air to circulate.
Day 1: Making A New Starter

- 100g bread flour (e.g. wheat, spelt, kamut or rye).
- 100g (3/4 cup) filtered or spring water
- 1 litre (1 quart) capacity glass jar, sterilised
- paper towel or several layers of cheesecloth
- rubber band
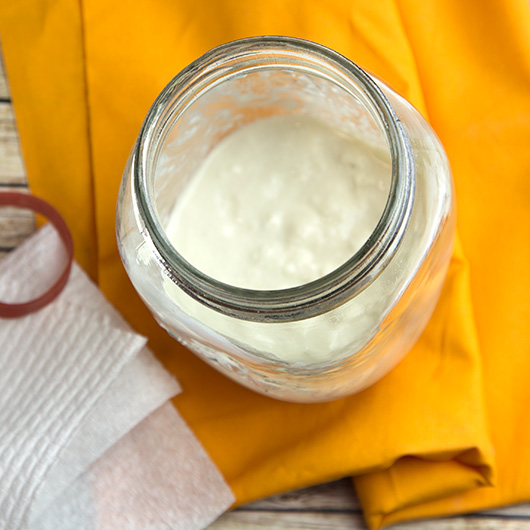
- Combine the flour and water in the glass jar and stir until well combined and no dry flour lumps. The resulting mixture will look sticky and be thick like glue. Scrape down the sides of container as much as possible and cover with paper towel and the rubber band.
- Place the container in a warm area and let sit for 24-48 hours. After this time proceed with your first feeding (coming tomorrow)

All Posts in This Series (will be updated as we create our starter culture)
- Making a Sourdough Starter From Scratch:
Day 1 | Day 2 | Day 3 | Day 4 | Day 5 | Day 6 | Day 7 - Sourdough Bread for Beginners
- Feeding and Storage of your Established Sourdough Starter
- Recipes for Discarded Sourdough Starter
This post is linked to: Healthy, Happy, Green & Natural Party Blog Hop, Fat Tuesday, Tasty Tuesdays, Little Veggie Kitchen, Natural Living Monday, The Gathering Spot, The Hearth and Soul Hop, Thank Goodness It’s Monday, Homemade Mondays, Real Food Wednesdays, Whimsy Wednesdays, Tuesdays With A Twist, Anti-Procrastination Tuesday
I love that you’re breaking the instructions up over a series of day – very helpful! I have always wanted to make sourdough bread, but haven’t done it yet. I am pinning this, so I have a resource for when I finally do it.
Thanks for sharing on Natural Living Monday!
I too make sourdough starter at home. I used rye starter, your starter looks very nice. thanks for sharing with Hearth and Soul blog hop. Pinning.