All week I’ve been awaiting this moment. While playing with a jar of flour and water was fun and games, after seven days of feedings, stirrings, sour smells, bubbles and a batch of waffles I’m ready to bake up some bread. Even if it takes me all day to do it!
Jokes aside, this recipe fits into my preferred method of ‘lazy weekend’ baking – taking place over a several hours, but with only a few minutes worth of hands on time in total. Involving several dough restings and risings, it’s a recipe that is best started in the morning on waking and tended to throughout the day at regular intervals. In my home, Sunday is the best baking day, as I can look after my dough between other chores or study breaks. Sourdough baking does take a lot longer than using commercial yeast, so sit back and enjoy being part of the slow-food movement.
As a great beginners recipe, this sourdough process could also be called a ‘no knead’ method. I prefer it as I have an old occupational injury where I avoid kneading to prevent hurting my wrists. This method of baking instead takes advantage of an ‘autolyse’ (delayed salt) period which can help improve the texture of your final loaf, without having my rigorously mix or work the dough at all. The mixed dough of starter culture, flour and water is allowed to rest for around an hour before salt is added and remixed. This delay in adding salt allows amazing stringy strands of gluten to form that might otherwise require a lot of work and kneading to create.

After this autolyse, the dough goes through two rising periods. A long rise, where you’ll wait until the dough has doubled in size (taking between 3-12 hours depending on temperature and the current activity level of your starter), following by a shaping of the dough and a second, shorter rising period before baking. Allowing the dough plenty of time to grow in size during the first rising stage enables strong gluten formation and for fermentation to occur, with those delightfully tangy sourdough flavours developing.
If you want to speed up this rising action consider the following: the warmer the ambient temperature and the stronger your culture, the faster your dough will rise. For the last hour of my initial rising period, I moved the dough into my Excalibur dehydrator. It’s been very cold today, and not much expansion was going on. Next week, I’ll be putting it straight into the dehydrator on the ‘Raising Bread’ setting for around 3 hours and see what the difference is like. Secondly; as general good practice, try baking with sourdough culture that has been fed about 12 hours prior. It will be at the peak of it’s activity at this time as the culture has time time to feed and multiple. While an unfed (sluggish) culture can still contribute to the ‘sourdough’ taste in baking recipes, it will not add any leavening power if it has been fed too long ago. It is therefore best to leave unfed sourdough for recipes such as waffles, pancakes etc. Similarly, do not use culture you have fed that morning, as you will primarily be adding pure flour and water to your bread dough, and not much active yeast activity.
To clarify terms (as I am using them here): fed starter = has been fed approximately 12 hours ago (mature starter, full of activity); unfed starter = is due for a feeding (almost out of food and sluggish activity).
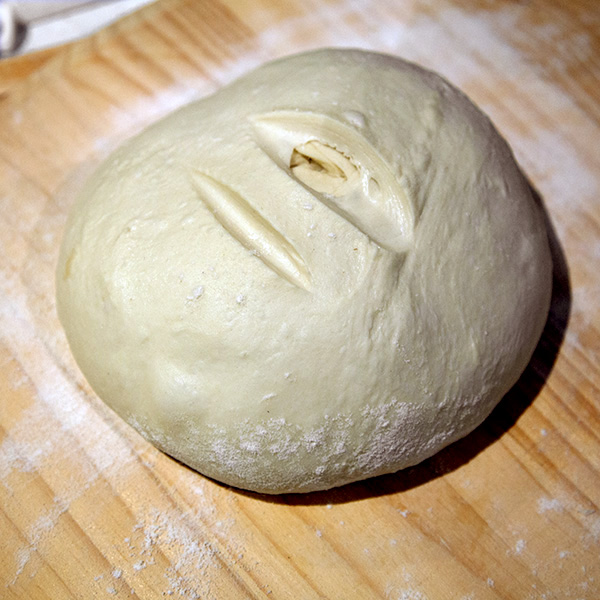
The second rise comes after dividing the dough (if we are making more than one loaf/roll) and shaping the loaf. I’m making a simple boule (‘squashed ball’) shaped loaf today, it’s a rustic, round shaped loaf that’s very easy to make. Once it’s been pulled and tucked into shape (see instructions in the recipe below) the dough is left to rise on a floured surface for around another hour or so until puffed up and springs back when touched. After that it’s time to slash the top with a serrated knife (check out my abysmal effort above!) and slide the dough onto a heated tray or baking stone in the oven to bake for an hour.
I use a ceramic baking stone (pizza stone) for bread baking, as I find it holds heat well and helps extract moisture from the dough, turning it into steam that helps creates a great crunchy crust for your bread. Sometimes I also spray a little water on the surface of the dough ball just before sliding into the often for the same reason. A baking tray preheated in your oven can help to create the same environment to a lesser degree. Once it’s time to bring the loaf out of the oven, I sometimes also turn the whole loaf over and bake for a further 10 minutes as on occasion (when baking with a stone) I’ve found the bottom of the boule to be a little underdone. It’s best to test the level of ‘doneness’ by tapping on the bottom of the baked loaf. If it sounds ‘hollow’ it’s ready to come out of the oven.
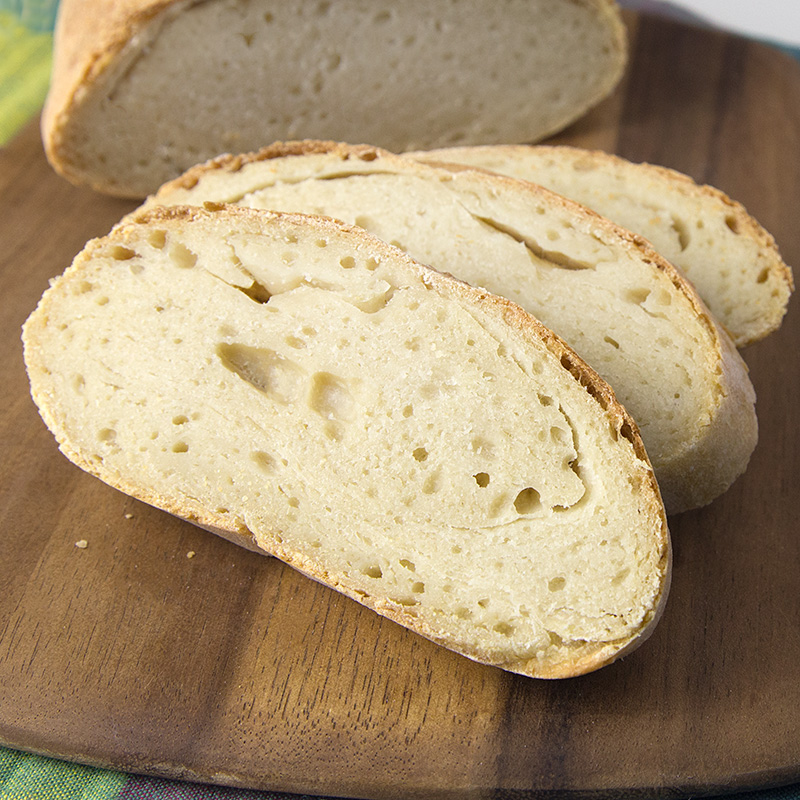
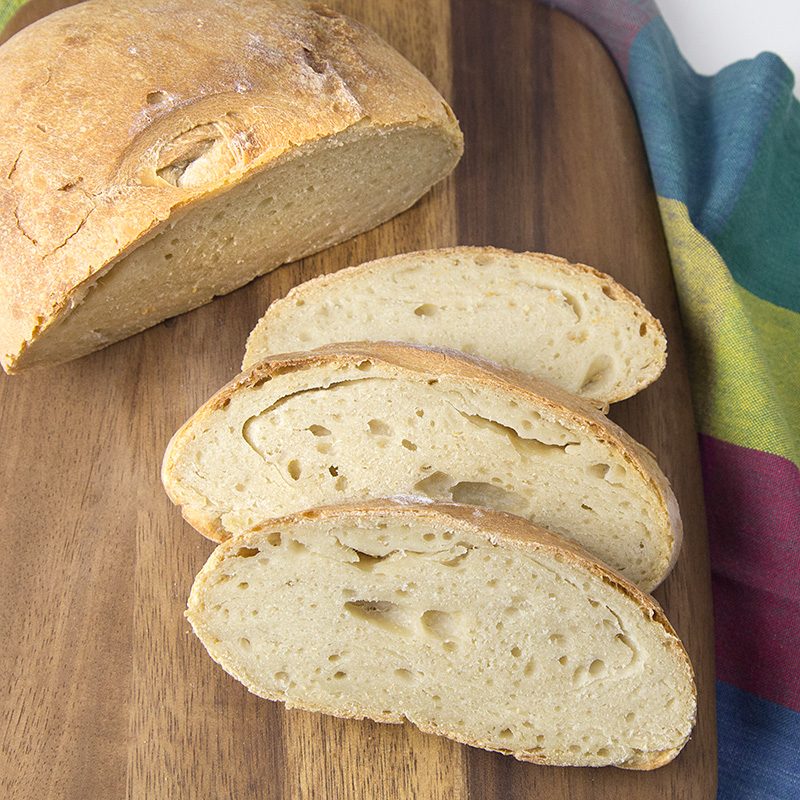 The results:
Ive just eaten a slice, toasted and spread with mashed banana and raw honey. From that highly objective testing procedure I can honestly tell you that this delicious. The loaf didn’t rise as much as I had hoped, though I need to consider that I’m using a new sourdough culture that hasn’t fully matured yet and sourdough never rises as much as bread with commercial yeast. It was also so cold here that I decided put my proofing dough in my dehydrator to give it a little kick during the rising period; in hindsight I could have made that choice earlier in the day.
My other concern is that the texture of the bread is a little gummy but completely edible; an unfortunate consequence of my wildly fluctuating oven. I couldn’t find my oven thermometer before I started baking and I took a shot in the dark with the temperature setting – but my oven got nowhere near the 220C (430F) I needed it to be today. In these cases I recommend using a instant read thermometer (which I need to buy!), inserting it into the middle of your loaf to check for a reading of at least 100C (210F) after the baking time has elapsed. I should mention too that while I normally bake with wholemeal flours, with a lapse in my thinking causing me to reach for the white bread flour and not my spelt wholemeal. I guess that means we’re doing a post on wholemeal spelt or rye bread soon!
- 200g starter
- 450g bread flour
- 250g water
- 2 tbsp olive oil
- 1½ tbsp fine celtic sea salt
- Autolyse Stage: In a large bowl, combine the starter, bread flour, water and olive oil and bread flour. Mix well with a wooden spoon, finishing off using your hands to incorporate as much flour as possible. Allow to rest for 30-60 minutes. During this time also feed your original starter culture again (if necessary) and put aside in a warm spot.
- After resting time sprinkle salt over the dough, adding a few drops of water to help the salt dissolve.
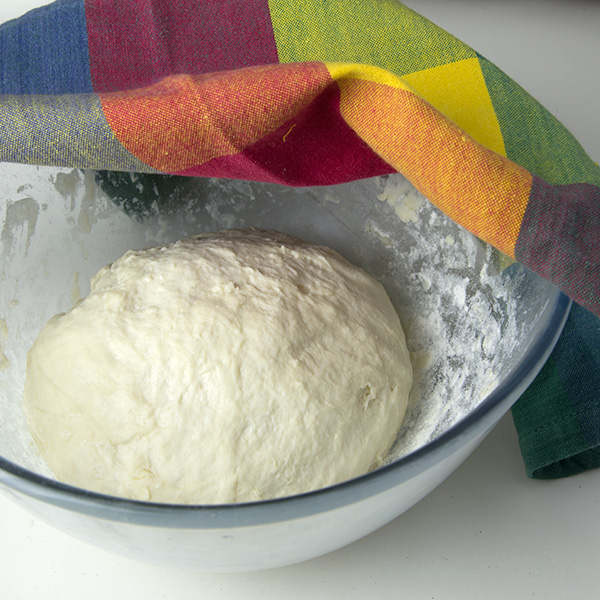
- First Rise: Gently mix the dough in the bowl with your hands, lifting and folding the dough over itself several times to incorporate all the salt. The dough will appear stringy and may easily tear when manipulated, gently shape into a ball and place seam side down in bowl, Cover with plastic wrap and a tea towel (or just a tea towel) and leave in a warm place to rise for 3-6 hours. Dough is ready when it has increased in size by around double.
- If you wish to speed up rising action, reshape dough every hour by removing from bowl and folding dough over itself.. To do this, grab a portion dough from the top of shaped ball and pull towards bottom, tucking underneath. Turn the dough ball 90 degrees to the left and perform again and again until back to the first side. Return to the bowl, seam side down.
- Shaping and Second Rise: Repeat actions to fold dough over itself to tuck underneath. Use this process to create a nice, tight ball of dough. Clean bowl and coat with flour, cornflour or a thin layer of olive oil. Place dough back into bowl for a shorter rise, between 1-2 hours. You are ready to bake when dough is slightly puffy. We are not expecting much more growth in this stage.
- Preheat oven to 220C (430F), for at least 15-20min, and heat a baking tray or ceramic baking stone in oven. Place baking paper (if baking on baking tray) or sprinkle flour or cornflour (if using a baking stone) on a wooden cutting board. Transfer dough to prepared surface and reshape gently if necessary.
- Using a serrated knife, make a cut or cuts along top of dough. Open oven door and quickly slide dough onto baking tray or stone. Seat loaf in the centre of the oven and close door as soon as possible to prevent heat loss. Bake for 60 minutes or until bread is golden brown and firm on top. If using an instant read thermometer, insert into bread and check for a reading of 100C (210F) Remove from oven and allow to cool on baking surface for 5 minutes before transferring to a wire cooling rack. Allow to cool completely before slicing.
All Posts in This Series (will be updated as we create our starter culture)
- Making a Sourdough Starter From Scratch:
Day 1 | Day 2 | Day 3 | Day 4 | Day 5 | Day 6 | Day 7 - Sourdough Bread for Beginners
- Feeding and Storage of your Established Sourdough Starter
- Recipes for Discarded Sourdough Starter
This post is linked to: Healthy, Happy, Green & Natural Party Blog Hop, Fat Tuesday, Tasty Tuesdays, Little Veggie Kitchen, Natural Living Monday, The Gathering Spot, The Hearth and Soul Hop, Thank Goodness It’s Monday, Homemade Mondays, Real Food Wednesdays, Whimsy Wednesdays, Tuesdays With A Twist, Anti-Procrastination Tuesday
Hi Ally,
There are few things as delicious and satisfying as fresh-baked bread so I applaud your sourdough efforts! I am so delighted that you shared this healthy and delectable beginner sourdough bread recipe on the the Healthy, Happy, Green and Natural Party Blog Hop. I’m pinning and sharing!
Delicious bread,I like homemade bread a lot, thanks for sharing with Hearth and Soul blog hop. Pinning.
Thanks for a great recipe! I’ve been wanting to make some sour dough bread! Your wonderful post will be featured today at Tuesdays with a Twist! -Marci @ Stone Cottage Adventures
Thank you for sharing at Tuesdays with a Twist. YOU have been featured this morning @ Back to the Basics!